Introduction
Even if you aren’t sure you want to put vinyl siding on your home, you’ve probably at least considered it. Why? For most homeowners, it means eliminating the hassle and expense of repainting their house every five years or so – or paying someone else to do it. Besides saving work, vinyl siding can save you money. According to Rod Matthews, business manager/siding for Toledo, Ohio-based Owens Corning, vinyl siding costs about 11 percent less than cedar siding, and 26 percent less than aluminum. Expect to pay $160 to $250 per square (100 sq. ft.) for a quality vinyl product installed over rigid insulation. For these reasons, vinyl has become the most popular choice in siding. More than one-third of the exterior cladding installed on new and existing homes is vinyl. The balance is wood, aluminum, steel, brick or stucco. If new siding is in your future, keep these three key considerations in mind when looking at the vinyl option: 1. Vinyl siding isn’t for everyone; you have to like the way it looks on your house. 2. Not all vinyl is created equal; you’ll need to learn how to pick a quality product. 3. You’ll need a competent contractor. Proper installation is at least as important as product quality.
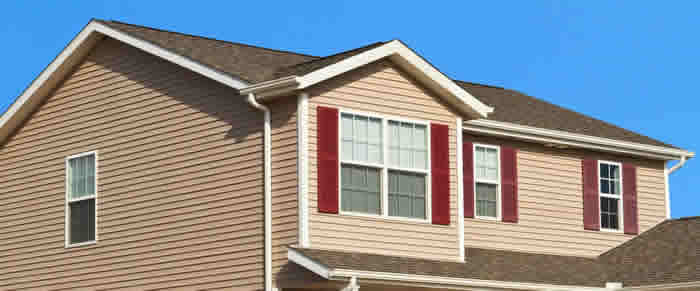
Is Vinyl Siding for You?
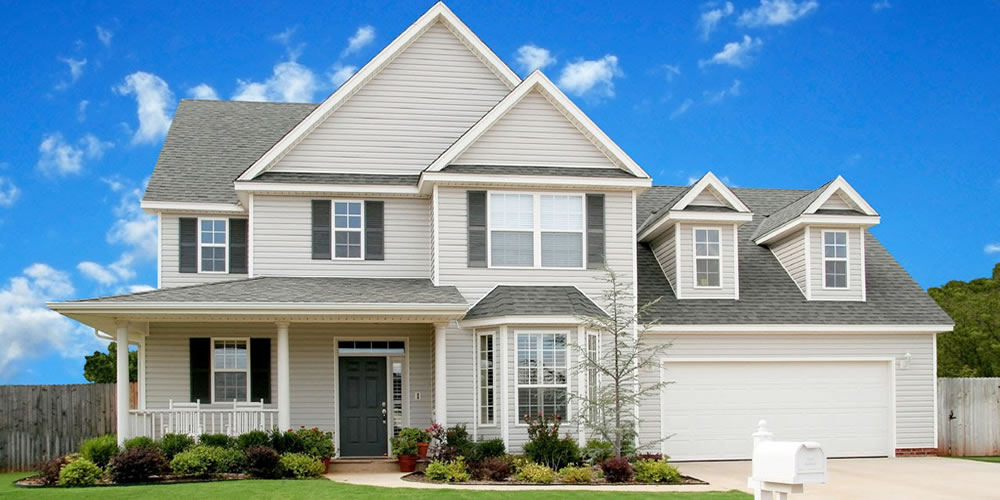
Purists sneer at the idea of wrapping houses – particularly older homes that have significant architectural detail – in “plastic.” Other common objections are that vinyl siding can’t hold its color without fading or yellowing, that it buckles in the heat and that it can mask serious problems with moisture in the walls. These were worthy concerns in the past, but vast improvements have been made in vinyl siding since it first appeared. Take a look at some of the new vinyl siding products. Typically they have a low-gloss finish that more closely resembles painted wood. Most manufacturers also offer realistic-looking grain patterns and have improved the look of trim pieces. Fading and yellowing aren’t major concerns with better vinyl siding products, nor is their rigidity if they are correctly installed. If you still aren’t sure you like vinyl, see how it looks on other houses in your area. You’ll know if it’s vinyl by looking at the corners. With vinyl, cap strips on the inside and outside corners cover the edges of the panels; clapboard and shingles usually have mitered edges at the corners or a trim piece installed flush with the siding. Then ask a local realtor how vinyl affects home values in your area. It will probably have a positive effect on most houses. But, John Leeke, a home-restoration consultant in Portland, Maine, warns against installing vinyl on homes in historic neighborhoods. “If there are 10 restored Victorians on a street and one has vinyl siding, the value of the one sided in vinyl will suffer,” he says. That doesn’t mean older houses can’t be sided with vinyl. Manufacturers now offer period patterns, including details like fish-scale shingles that are found on older homes. Again, look at other houses in your area. If others have vinyl siding, it’s far less likely to diminish the value of your home. Another caveat is vinyl’s dubious ability to mask trouble beneath. Painted wood often peels or chips when there’s a problem, but vinyl offers no such clues. Be sure leaks, moisture condensation problems and any structural defects have been addressed before the siding goes on.
Judging Quality Siding
Technically polyvinyl chloride (PVC), the vinyl that’s used in siding includes a number of additives that help it resist fading, protect it against ultraviolet rays and provide dozens of color choices. (The color goes all the way through the material, so it can’t flake off.)
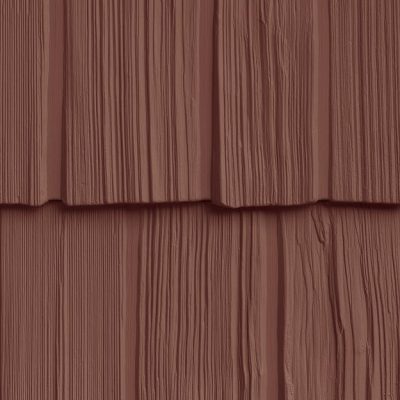
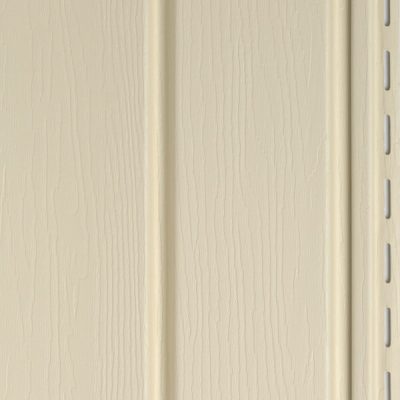
What you see. Vinyl siding comes in textured or smooth panels. Those with a simulated wood grain are meant to imitate rough-sawn wood that’s been stained. Panels are available in horizontal and vertical configurations. Horizontal siding tends to look best on traditional houses, while vertical panels fit well with many contemporary designs. There are also a number of widths. You’ll find 8-in.-wide panels or panels that look like two 5-in. or three 3-in. courses of siding. Panels are complemented by vinyl soffit, window trim and other accessories.
Below the surface. Vinyl siding standards are covered by the American Society of Testing and Materials (ASTM) Standard 3679. Any vinyl siding you buy should have this designation on product fact sheets and packaging. This is a minimum standard, however. To pick a product that exceeds the minimum standard, follow these guidelines:
- Panels should be at least .040 in. thick; .042 to .045 is better. The ASTM standard requires only .035 in.
- Soffit panels should be about .05 in. thick. Because soffits are suspended horizontally and secured at the edges only, the extra thickness prevents panels from sagging.
- Look for antiweathering protection – sunlight is deadly to raw vinyl. While the actual ingredients designed to keep vinyl from fading and degrading are proprietary, a common one is titanium oxide. You can also get an idea of a product’s durability by asking the dealer or contractor to explain why and how it will resist weathering.
- The warranty is another clue to how weather resistant a product is. Few building products come with the long warranties offered by vinyl manufacturers. Fifty years is standard. Some products even come with a lifetime warranty that can be transferred to the next owner of your home. However, some warranties are prorated: The longer the siding lasts, the less the company will pay. Make sure you read the fine print. Some manufacturers only promise to recoat rather than merely replace damaged siding. And most warranties just pay for the product – not the labor for installation.

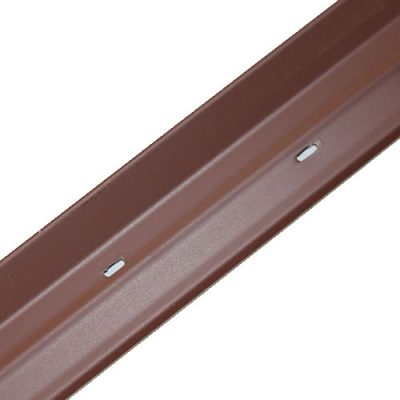
NAILS THROUGH A SLOT at the top of each vinyl siding panel help hold the siding in place. A space of about 1/32 in. should be left between the nail head and panel to provide space for movement during temperature changes.
Getting a Quality Job
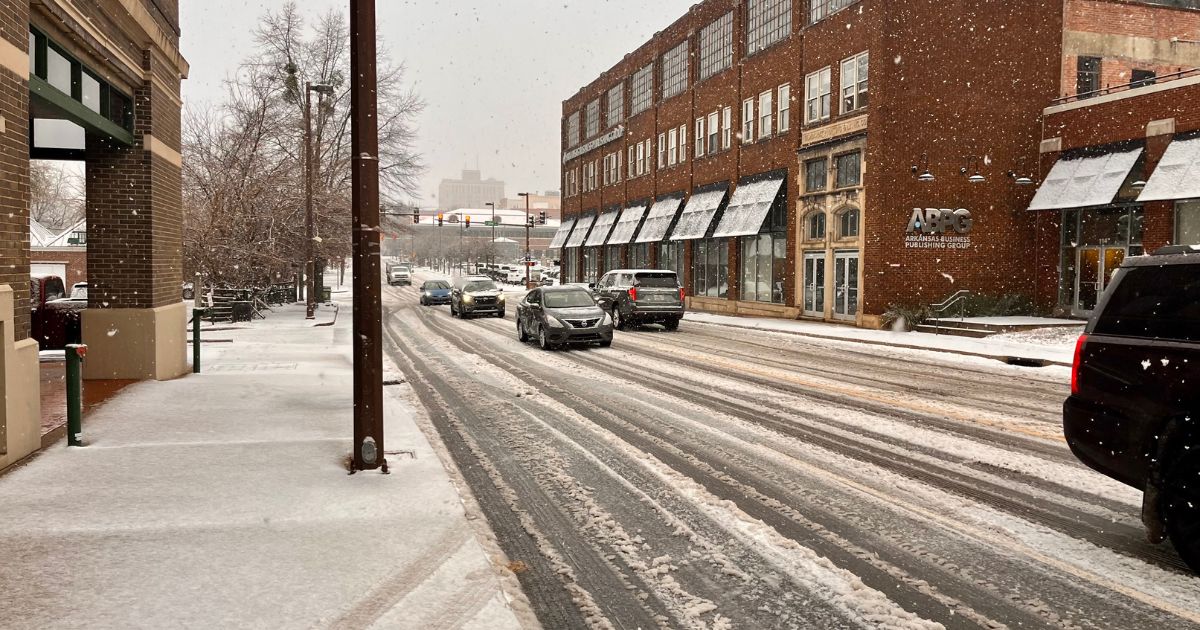
If you were to throw the names of the top 10 vinyl siding companies in a hat and pick one, you would probably end up with quality siding. Do the same with 10 local contractors, and the installation quality would be far less certain. A contractor’s expertise and experience are crucial to a good siding job. The reason is the material itself. Because vinyl expands and contracts so much, even the most expensive siding will buckle and warp if not put on correctly. Experienced contractors take a number of steps to keep this from happening. For example, panels are installed with a 1/4-in. clearance at all openings and stops, such as where a panel butts up against a window or comes to a corner of the house. That clearance is increased to 3/8 in. when siding is installed in temperatures below 32°F. You’ll also see a row of slots at the top of each panel. Your siding contractor should drive his nails through the center of the slots, leaving a small space, about 1/32 in., between the nail head and siding. That allows each panel to move slightly with temperature changes. Because installation is so important, check references of any contractor you’re considering. Request written estimates, then visit past jobs and a current project to give them a thorough once-over. Look for these details:
- Rigid insulation. It provides a smooth surface for the siding, adds some insulating value and cuts air infiltration. Joints between rigid insulation panels should be taped for maximum energy savings. It’s a small task, but signals quality.
- Corrosion-resistant nails. Look for aluminum or hot-dipped galvanized nails.
- Straight courses. Examine both sides of windows and doors. Panels should continue from one side to the next in perfect alignment. If they’re uneven, the job will look sloppy. The same holds true at corners.
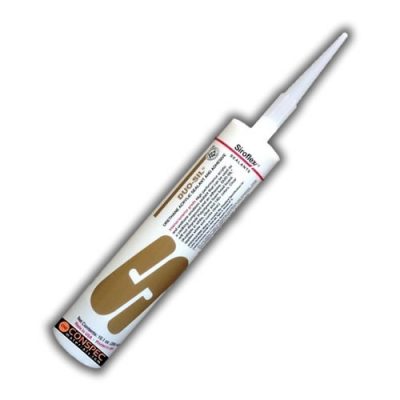
- Detailing around openings. The J-channel that receives the panel ends should be neat and precise. Look for mitered corners and smooth caulking application.
- A clean job site. Contractors should clean up at the end of each day. Materials and tools should be covered and protected. Debris should be picked up for disposal.
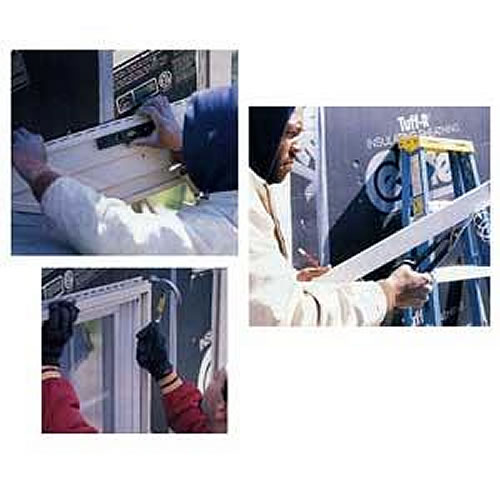
SIDING COURSES (above, left) are checked for level several times during the installation process. The detail shown here is tricky because the wall being sided adjoins the sloping roof of a garage.
PART OF MANY VINYL siding jobs involves capping window frames (middle). Here, a contractor trims a length of coated tin before applying it to a window. Mitered corners are a sign of quality work.
J-CHANNEL IS NAILED IN place around the perimeter of a window (right). The channel holds the edges of siding panels that abut the window, providing a clean, crisp finish to the end of a panel run.
Source: https://www.thisoldhouse.com
![]()