Durability for one. The homes you design should stand the test of time and Mother Nature. Vinyl siding, insulated siding, and polypropylene siding are the only claddings certified to international standards and verified by an independent quality control agency. Our products do not fade. There are more than 400 products certified for color retention. And all certified products will withstand extreme weather events; they are tested to
withstand winds of 110 mph (most products achieve much higher ratings);
weather the effects of our hottest summer days, coldest winter nights, and torrential rains;
lie flat on the wall and not buckle;
withstand impact; and
meet manufacturers’ advertised specifications for length, width, thickness, and glass.
Vinyl siding, insulated siding, and polypropylene siding are part-and-parcel of a weather resistant wall envelope; these claddings are hung on the wall assembly, creating a de facto drainage plane and vented clear airspace. In certain climate zones, this eliminates the need for an additional vapor barrier — on average saving approximately $500 per home. And, as you know, polymer-based sidings do not absorb water whereas fiber-based products may disintegrate over time when moisture penetrates the plank.
Designing green? Today’s vinyl siding delivers recognized environmental benefits throughout its life cycle — manufacturing, transportation, installation, service life, and waste management. Vinyl siding performs better than any other cladding, except cedar, according to a life cycle assessment conducted by an independent third-party. Vinyl siding requires less water and energy to manufacture per square than fiber cement and less than half the energy and fuel necessary to manufacture brick and mortar. Vinyl siding even beats cedar siding on ecological toxicity. Vinyl siding can
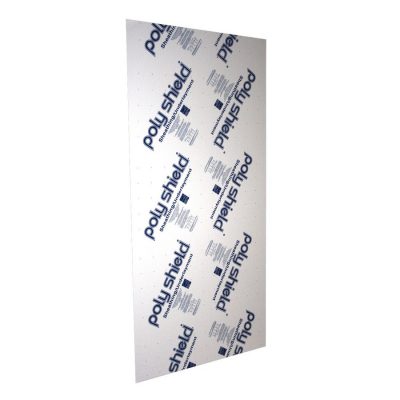
Designing for energy efficiency? Insulated siding reduces thermal bridging by blanketing the studs on the exterior wall — keeps heat in the home during winter and out in summer. Insulated siding is included in the 2015 International Energy Conservation Code among the materials that can be used as continuous insulation outside of the building framing cavities to provide the required total wall R-value for buildings in the coldest climate zones.
Insulated siding is recognized now accepted as home insulation in various energy efficiency programs — including the checklist of building products or methodologies that can help meet the requirements under ENERGY STAR Qualified Homes Version 3. Certified insulated siding must meet or exceed an R-value of at least 3.
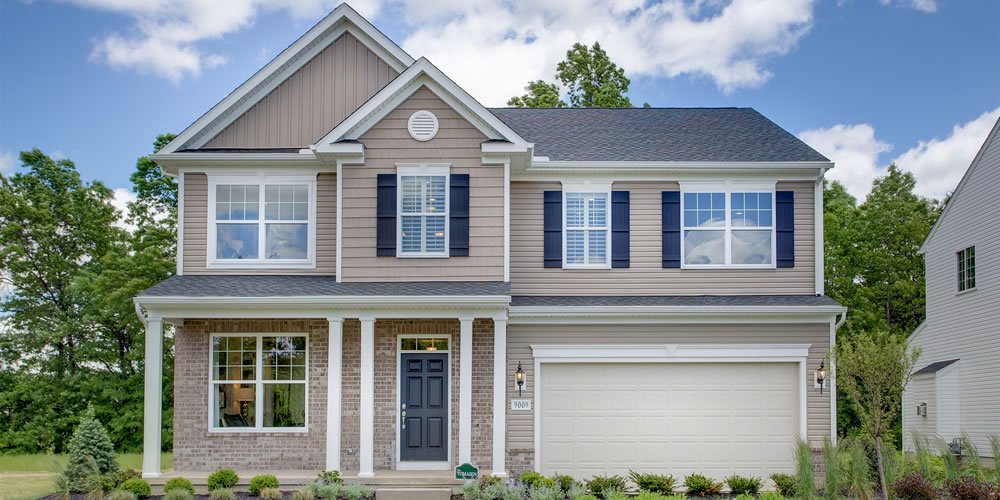
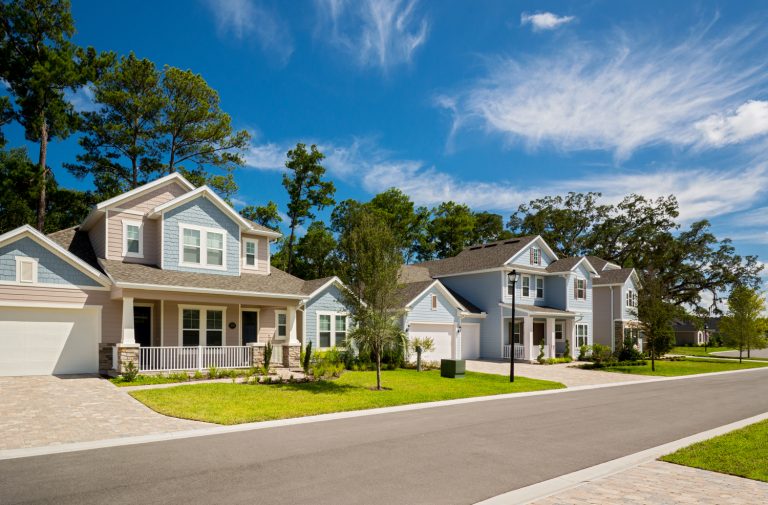
Vinyl siding is designed to sell. It is the #1 cladding on new single family houses construct every year (and has been for more than two decades). From the humblest Cape Cod to the most luxurious Queen Anne, vinyl and polypropylene siding, trim, and accessories get the job done.
Most online calculators for home remodeling–counters, tiling, roofing, siding–do little more than perform simple area calculations. They are less than helpful because they are marketing come-ons to get you to buy a certain product.
However, there are a few that stand out.
1. Best Siding Calculator: Mitten
The best thing about Mitten’s siding calculator is that it breaks apart and adds up all of the various surfaces for you.
Most siding calculators ask for total square footage right off the bat. But this calculator does it for you, and includes waste materials and those weird surfaces like gables, soffits, and fascia.
Be warned, though: there is nothing all that sophisticated about this siding calculator. It does not do the work for you because, frankly, calculating out siding is laborious business. Instead, it forces you (in a good way) to think methodically and in separate categories of surface area.
Downside: no price estimates. Also, it’s an overall clunky device: often confusing as to which “Calculate” button to press, since the form has several.
It is an acceptable tool and with a little revamping, they could make it even better.
This tiling calculator allows for a more visual, graphic representation of your tiling layout than you might find with other calculators.
So, instead of plugging numbers into forms, you get to do the more natural thing, which is moving walls by dragging them with your cursor.
As with all calculators, this one exists to plug a product. In this case, the product is Warmly Yours, radiant heating that installs below the tile. The product plug isn’t too intrusive, and it doesn’t come until the very end.
One downside is that the company has not made any improvements to this tool since it was released.
3. Best Roofing Calculator: New England Metal Roof
You’re hard-pressed to find a good online roofing calculator that gives price estimates. Most calculators stop at square footage, afraid to venture into the scary world of price estimates.
But New England Metal Roof’s calculator mightily tries to peg a rough dollar estimate for your roofing job, including tear-out of old roof. Note: this does not just include metal roofs; it also includes composite, wood/cedar, Spanish tile, and many other times of materials, including metal.
One downside is that this online calculator does not let you input a precise roof pitch. Roof pitch does have a very real determining factor on price. However, most homeowners will not get up on the roof or in the attic to measure pitch, and will just estimate anyway. So this calculator’s Flat, Low, Medium, Steep, etc. pitch designations work just fine.
The company seems to be on top of this calculator and they do tend to keep it updated.
At one time, the best counter calculator was from DuPont. With their Corian/Zodiaq (quartz) countertop estimator, not only did they take on the mundane task of calculating square footage, but they factored in things like edge treatment and backsplashes. And they worked in price estimates for installation, too.
All of this past-tense is because DuPont may have pulled this plug on this calculator. There merely say that the calculator is “currently undergoing some technical updates.” The only problem is that it has been down for technical reasons for a very long time.
In the meantime, the ReferWork calculator does the job adequately enough.
Selling a house can be exciting as it can be stressful. And learning to look at your home objectively is easier said than done, but it can be extremely valuable to look at your home from a buyer’s perspective – yielding a faster sale and potentially a higher price. Who doesn’t want to get top asking price for their house? We all know to detail our cars before selling them, so why is it so hard to apply the same principle when we sell a house?
For starters, a home is very personalized. It’s also bigger and there’s a lot more surface area to “detail” both inside and out. To help you detail your house before you sell it, we’ll discuss tips for detailing the exterior of your home, more specifically, what colors to use.
Six ways color can help you sell a house.
1. Washing your house can give it a fresh look.
Step back and look at the exterior of your home. A quick pressure wash is a good place to start. Now that it’s clean, does it look fresh, warm and inviting? Or has it faded over time? Is it bland and/or the same color as the rest of the neighborhood? Buyers are going to be touring various homes, so you’ll want yours to make an impact.
2. Painting your home? Stick with classic colors.
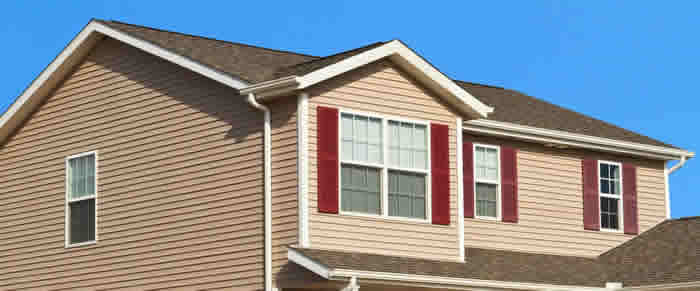
Now, here’s where you need to proceed with caution – after all, painting your home “Barney” purple will leave quite an impression – of terror. I recommend sticking with classic colors. If all the homes in your neighborhood are beige, a variation of white can give your home a fresh look depending on the style. Or perhaps you may consider a soft yellow to bring some life to the exterior without going overboard.
Take a hard look at the aspects of your home you don’t intend to change. What color are the roof and the windows? Would a new color scheme still work with these?
3. Add a second body color for greater impact.
Of course, repainting your home could be an expensive undertaking. One recent trend in exteriors is to have a second body color. Applying this technique to an older home can have tremendous impact and cost less. I love the idea of adding a second paint tone to highlight the entrance of a home or a key architectural feature.
4. Freshen your trim color.
An even less expensive option would be to change the trim color around your doors and windows. If there isn’t enough contrast between the trim color and the main body color, this would be a great alternative to repainting the entire house. Pay attention to the color of your windows. If you have white or almond windows, you don’t want to trim them with a dark color.
5. Change up your shutter color.
Perhaps changing the accent color of your home would create enough impact. Better yet, you may decide to replace your shutters with new, maintenance-free, pre-colored shutters. Buying pre-colored shutters would help you stay in within a classic color family and they won’t fade or fall apart before you sell your home.
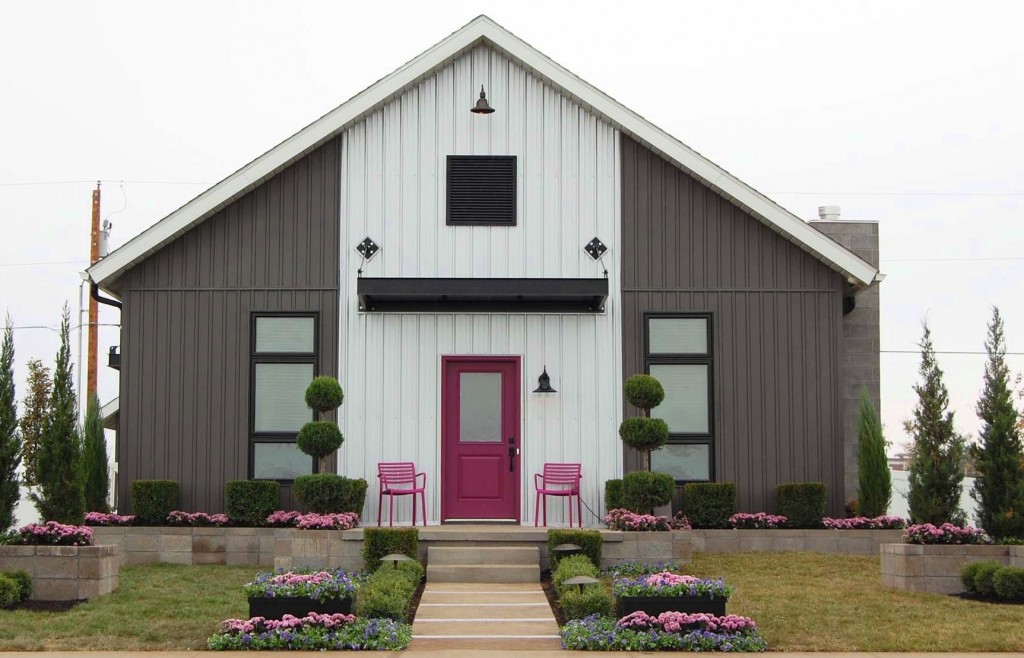
6. Add a fresh coat of paint to your front door.
If you do nothing else, at least consider painting your front door. This is the first thing home buyers will notice, and it is where you can get away with being a little more daring. Picture your buyers standing on the front porch of the house you’re selling, admiring the fresh new color, while their realtor fumbles with the lock box. What a great place to create a first impression!
Final thoughts on selling a home.
There are those that believe it is best to play it safe when it comes to color. While it is true that you don’t want to scare away buyers with a purple house, color can be a powerful tool for a seller and memorable aspect for home buyers!
How do I clean vinyl siding, especially areas that have mildew or mold? -Elvin
Even though vinyl siding is a low maintenance material, it still needs cleaning from time to time to remove dirt and grime. In humid climates vinyl siding may also develop mold or mildew, which should be removed as well.
Cleaning instructions are usually available from the vinyl siding manufacturer, and are often found on the siding warranty. If instructions are not available, or you’re not sure what brand of siding you have, follow the procedure below to clean your vinyl siding.
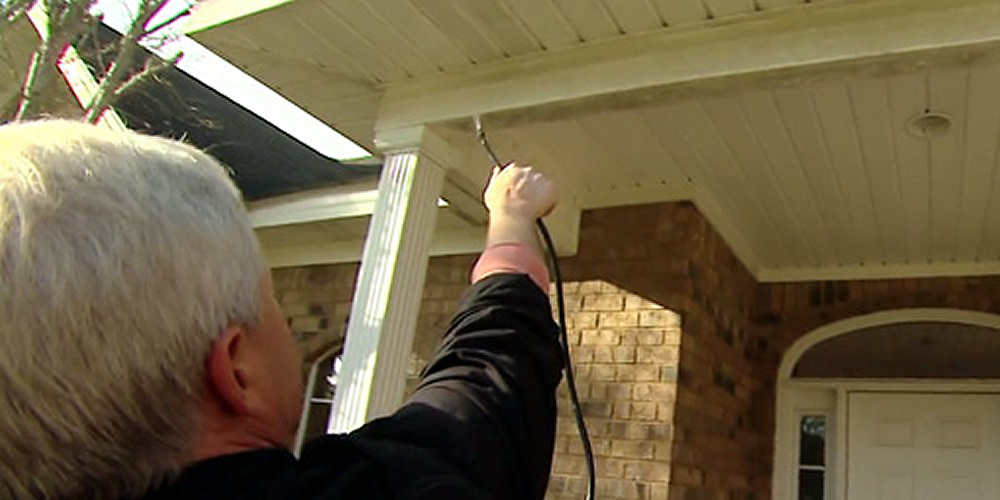
Removing Dirt from Vinyl Siding Hosing down vinyl siding with a garden hose equipped with a spray nozzle or a pressure washer set on a medium spray pattern is often enough to remove dirt and grime. When hosing down or pressure washing vinyl siding:
Make sure the pressure washer spray pattern is wide enough to prevent damage to the siding, and keep the nozzle moving.
Start washing at the bottom and work your way up; then rinse from the top, working your way down.
To prevent water from running behind the siding, spray even with or down on the siding, and spray in the direction of the overlapped joints.
Cleaning Solution for Vinyl Siding If the vinyl siding needs additional cleaning, add special cleaning solution to a pressure washer, or mix up the following in a bucket to use to clean by hand:
1 gallon water
1/3 cup powered laundry detergent
2/3 cup TSP (trisodium phosphate) cleaner
Dip a long handled, soft bristle, car cleaning brush in the solution; and scrub the vinyl siding gently starting at the bottom and working your way up. Follow by rinsing off the cleaning solution with a garden hose, starting at the top and working your way down.
Removing Mold and Mildew from Vinyl Siding To kill mold and mildew on vinyl siding, apply a mold and mildew remover, such as Wet & Forget Outdoor.
You can also use bleach to treat mold and mildew on vinyl siding by adding one quart of household bleach to each gallon of the cleaning solution above, then:
Wet down any plants near the house, and/or cover them with plastic sheeting to prevent damage from bleach. Covering plants with plastic on a sunny day may cause damage from overheating, so remove the plastic as soon as possible.
Use a pump up sprayer to wet the siding down with the diluted bleach/cleaning solution, working from bottom to top.
Allow the bleach solution to remain on the siding for 10 minutes or so.
Scrub the siding from bottom to top with a long handled, soft bristle brush.
Rinse the bleach solution off the siding from top to bottom with a garden hose.
CAUTION: Wear rubber gloves, long sleeve shirt, long pants, and goggles when working with strong chemical cleaners such as TSP and bleach. Follow the instructions on cleaning products carefully. Do not mix bleach with cleaners that contain ammonia, vinegar, or any cleaner that says it should not be mixed with bleach, since it can cause a chemical reaction and release poisonous chlorine gas.
An inch is an inch is an inch. Or, so you’d think. But when it comes to measuring the square footage of a property, it’s not quite that simple.
I doubt there exists a buyer in the entire world of real estate who hasn’t asked, at one time or another, what is the square footage of a particular property. The fact is, however, measuring the size of a home isn’t an exact science.
You can hire three different appraisers to measure the same house and they may come up with three different measurements. Because there are multiple ways to measure and different mechanisms used, the physical act of measuring can be done differently. Some appraisers will measure square footage with a good old measuring tape, albeit a large one. Others come equipped with those new state-of-the-art laser devices. I have been present when an appraiser will just eyeball a difficult-to-measure space or even do the wide-arm measurement. The point is, there aren’t any universally applied standards.
What does this mean for sellers and buyers?
Sellers: Avoid providing square footage whenever possible and always add a disclosure
I once represented a client with a $2.5 million home for sale in San Francisco. Against my wishes, the sellers insisted I list the square footage in all of the marketing materials as 3,450 square feet. They showed me a copy of the floor plan and recent drawings from an appraiser. I reluctantly agreed to add the square footage and supplied the appraiser’s drawing and measurements with the property disclosure statements. I added my own disclosure, stating that square footage is not an exact science, that the number should not be relied upon as fact, and that multiple appraisers may measure multiple ways.
We received an offer. The buyer had all of their property inspections, reviewed city reports, and signed off on all the disclosures. Their agent came back when it was time to release the loan and appraiser contingency. The appraisal came in 30 square feet less than the seller’s appraisal.
Because of the discrepancy, the buyers wanted a $25K credit off the purchase price. The home had not gotten any smaller since the buyers first wrote their offer. Yet the buyers felt that the home was misrepresented; that they wrote an offer thinking it was something it was not. The seller ended up having to knock off $25K just to get the deal done. I believe that the buyers still would have written the offer, and for the same price, had we not listed square footage.
Dozens of lawsuits make it to court, and tens of thousands of dollars are spent arguing over as little as 50 square feet. That’s why my advice to sellers is to avoid listing square footage when possible. I know you want everyone to know how big your house or condo is, and you want every last piece of space to be included. However, as in the case of the seller who had to forfeit $25K, doing so can come back to haunt you. Buyers are coming to your home because of its location, price, number of bedrooms, bathrooms, parking, and the pictures and description they read online. If you leave out square footage, they are still going to come.
If you must market your property’s square footage, include a reference for your information, such as an appraiser’s estimation. For example, position it along the lines of “per tax records (or per a recent appraisal), the square footage is approximately xxx.” Also, don’t include illegal spaces, storage space, or the garage in your measurements.
Often times, without mention of square feet in any of the marketing remarks, buyers will turn to city tax records for that information. These numbers often neglect previous renovations, expansions or improvements. In the case of new construction, in some markets, these records are pulled from architectural drawings done by the developer, and submitted to the city before the property is built. This is often considered a “walls out” measurement, meaning the footage includes all of the space to the exterior wall.
As a result, a buyer they may think their potential new condo is 1,600 sq. ft. because the “city says so.” But when the appraiser comes inside the condo to measure, he’s usually using a “walls in” measurement — which often yields a square footage lower than what the architectural drawings state. Depending on the size of the home, the space between those walls can add up.
Buyers: Never take square footage at face value
Buyers want to know the square footage of a home they are interested in. They want some idea of the size of the house they’re serious about. They want to know exactly how much house they’re getting for the money. But these numbers should be used only as a reference point. A buyer should never make their home buying decision based on square the square foot of a home.
There are some situations, such as buying in a larger condo building (especially newer construction with identical finishes), when buyers are particularly interested in the price per square foot. They want to know this in relation to comparable sales. In these and other scenarios, my advice is to take square footage information with a grain of salt and don’t get too hung up on it.
A successful Realtor I worked with in San Francisco used to respond to buyers’ “what is the square footage” question with, “I haven’t measured it. Does the size of the house seem to work for you?” Her point was that a buyer either feels like the space is right or not, and that feeling is more important than a figure that may or may not be real.